
Sun studies are essential for architects and designers to understand how sunlight interacts with structures…
Best Practices for Revit Cloud Worksharing
Revit Cloud Worksharing simplifies collaboration for BIM projects by enabling teams to work on a shared model stored in the cloud. This eliminates version conflicts, allows real-time updates, and ensures accessibility from anywhere with an internet connection. Key benefits include reduced IT overhead, faster synchronization, and scalability for large, distributed teams.
Quick Highlights:
- Central Model in the Cloud: Acts as the single source of truth, accessible to all team members.
- Supported Platforms: Primarily Autodesk Construction Cloud (ACC), with BIM 360 Design for legacy projects.
- Setup Essentials: Enable worksharing, save the model to the cloud, and organize worksets for efficient collaboration.
- Version Compatibility: All users must use the same Revit version; upgrades require careful planning.
- Best Practices: Sync changes frequently, use Worksharing Monitor, and manage linked models effectively.
- Optimization Tips: Simplify families, conduct regular model audits, and limit active links to improve performance.
This guide covers everything from starting a cloud project to maintaining optimal workflows, ensuring your team collaborates efficiently and avoids common pitfalls.
How to Use Revit Cloud Worksharing

Setting Up a Cloud Workshared Project
Planning and configuring your Revit project for cloud worksharing is a critical step to ensure smooth collaboration throughout the project’s lifecycle. By following the right steps, you can set a strong foundation for teamwork and efficiency.
How to Enable and Save a Cloud Model
To start a cloud workshared project, you first need to enable worksharing in your Revit model. Head to the Collaborate tab and select Collaborate. Then, choose In the Cloud under the same tab.
Once worksharing is activated, save your model to either Autodesk Construction Cloud or BIM 360 Design. A Save to Cloud dialog will pop up, where you’ll select the appropriate project folder on the cloud platform. Make sure the folder structure aligns with your company’s standards for easy navigation and organization.
During this process, Revit creates a cloud central model for synchronization and a local copy on your computer. This local file acts as your working file, allowing you to sync changes and receive updates from your team.
One key detail here is file naming conventions. Use a clear and consistent format, such as “ProjectName_Discipline_Version”, to avoid confusion and maintain organization.
After saving the model, it’s time to configure worksets to manage project elements effectively.
Creating and Using Worksets
Worksets are crucial for dividing a model into manageable sections, ensuring efficient collaboration and editing control.
Start by creating discipline-based worksets, such as Architecture, Structure, MEP (Mechanical, Electrical, Plumbing), and Site. This structure allows different teams to work independently while maintaining coordination with others.
Additionally, set up functional worksets for specific elements of the project. For example, separate worksets for exterior walls, interior partitions, furniture, or temporary elements can help focus efforts during different phases of the project.
To optimize revit workflows, configure workset visibility. Set default visibility states for worksets so team members can focus on relevant information. For instance, architects might hide detailed MEP systems by default, while MEP engineers might minimize architectural details to concentrate on their designs.
When assigning elements to worksets, consider editing workflows carefully. Shared worksets are ideal for elements that multiple teams need to modify, while discipline-specific items should be assigned to dedicated worksets. This approach minimizes conflicts and reduces synchronization headaches.
Version Compatibility and Project Settings
Version compatibility is a key consideration for cloud worksharing. All team members must use the same Revit version to avoid issues and ensure seamless collaboration.
Revit locks cloud projects to the version used when the model was first published. For example, if your project begins in Revit 2024, all collaborators must stick to Revit 2024. Using a different version will trigger access restrictions or require an upgrade.
Compatibility with Desktop Connector also plays a role. Revit 2025 and 2026 require Desktop Connector version 16.x or later. Older versions (like 15.8 or earlier) won’t work with these newer Revit versions, potentially blocking access to cloud models.
Upgrading an existing project to a newer Revit version involves opening the model in the updated version, which initiates a one-time upgrade process. Keep in mind that this process is irreversible and requires extra memory. Once upgraded, the model must be published to a new cloud project configured for the updated version.
To maintain consistency, standardize project settings across all team members’ local environments. Provide standard templates that include preferred units, view templates, annotation styles, and family libraries. Distribute these templates before team members create their local copies to ensure uniformity.
If your project spans several years, plan for potential software updates. New Revit versions may become available mid-project, so coordinate upgrades carefully to ensure all team members switch at the same time.
It’s also helpful to keep a version inventory, documenting which Revit version is used for each project. This record can guide team assignments and software updates across your organization, saving time and avoiding missteps.
Collaboration and Synchronization Best Practices
Working effectively in Revit Cloud Worksharing depends on consistent synchronization and open communication among team members. Establishing dependable workflows is key to avoiding conflicts and keeping the model intact throughout the project’s duration.
Synchronizing with the Central Model
Always sync your changes both before and after making significant updates. This ensures your work is integrated into the shared project seamlessly. When stepping away, make it a habit to relinquish borrowed worksets to prevent blocking others from making edits. If you encounter a synchronization conflict, address it immediately by coordinating with the teammate involved. These practices help minimize common collaboration challenges.
Using Worksharing Monitor and Backups
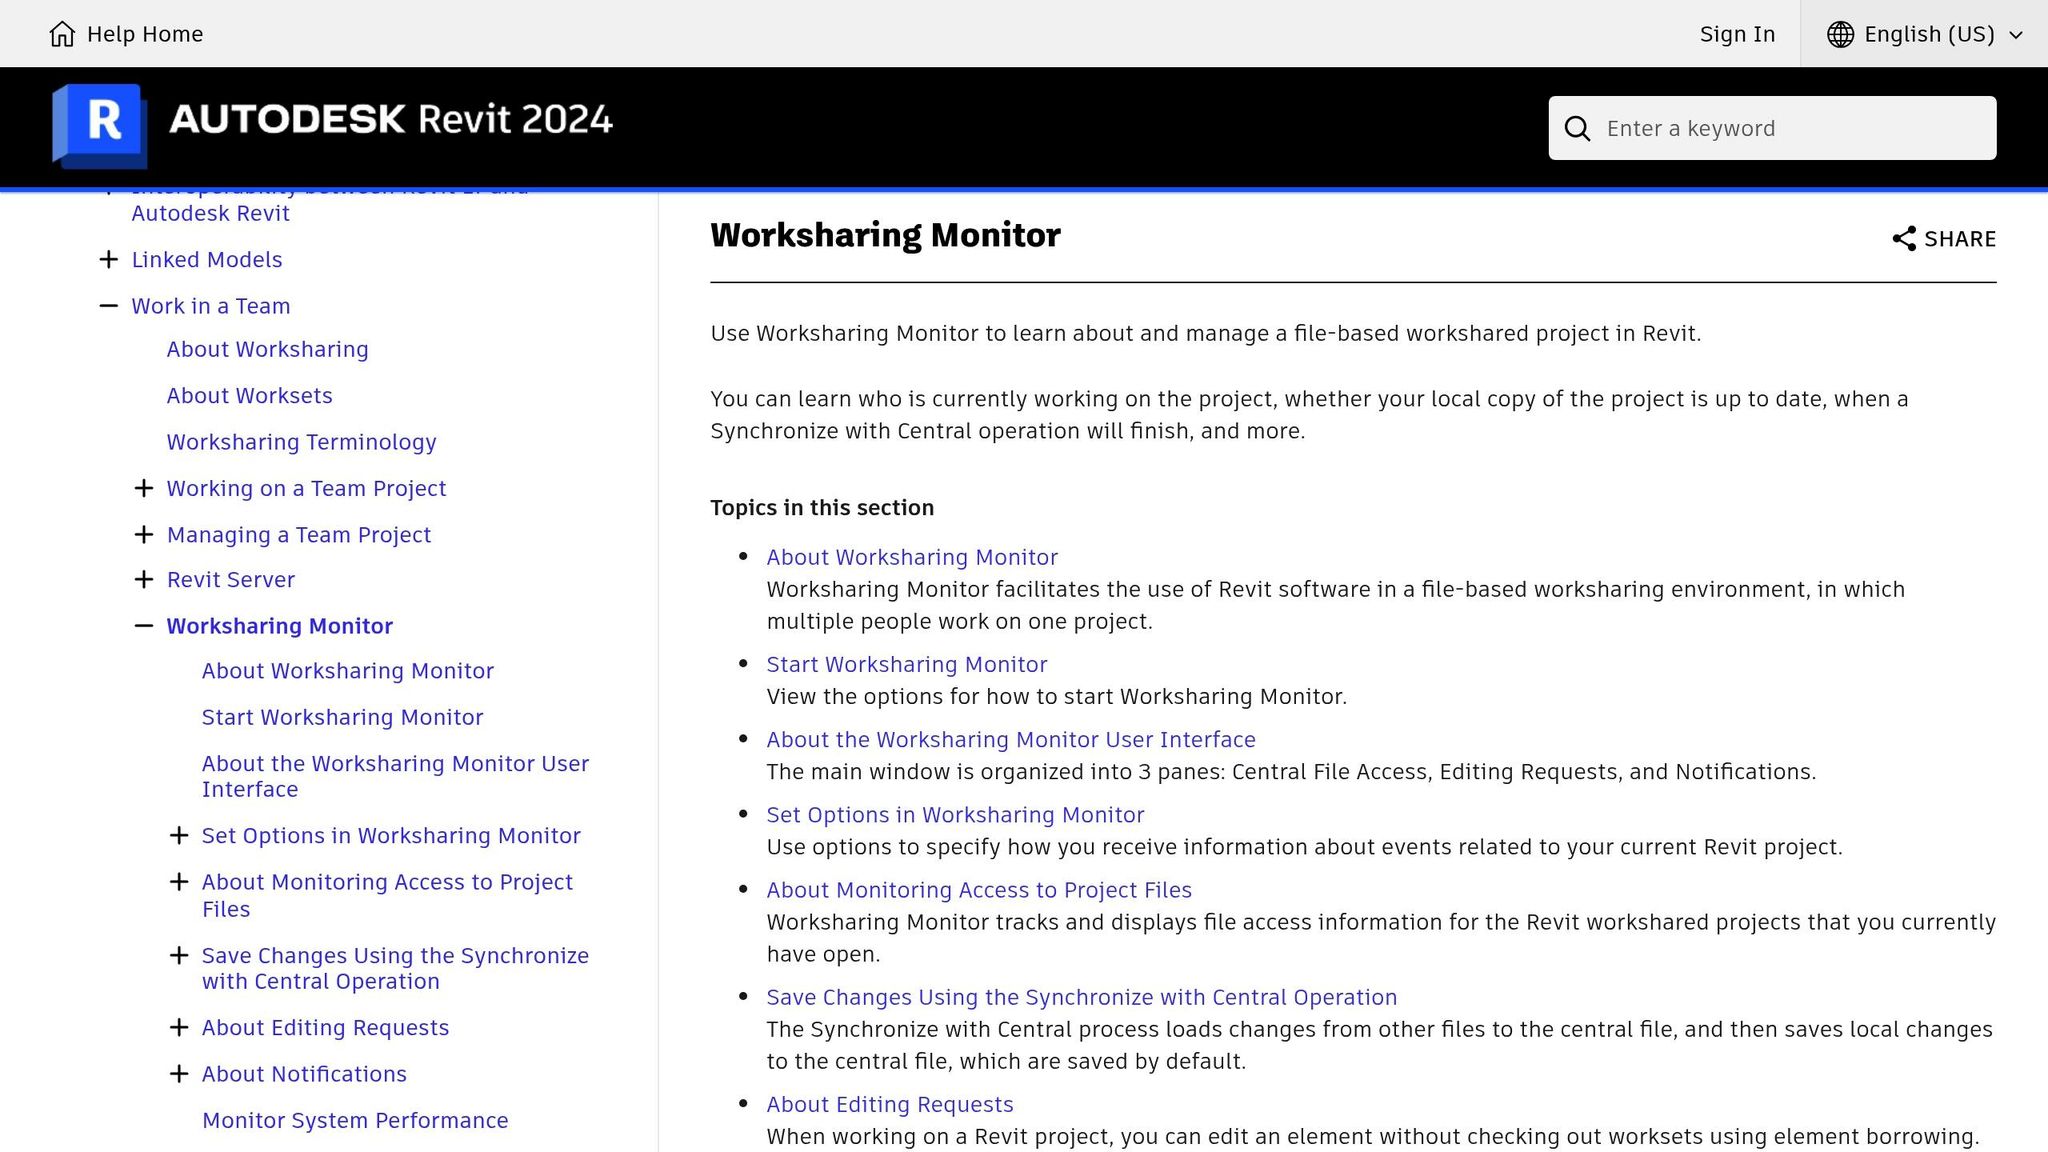
The Worksharing Monitor is a handy tool for staying updated on team activities and the model’s status. It allows you to track synchronization events, spot potential conflicts, and see who is working on specific elements. By using this tool, you can stay informed and avoid stepping on anyone’s toes.
While cloud models create automatic backups during synchronization, it’s smart to have additional backup strategies in place. Schedule regular local backups of your working files, especially before making major design changes or reviewing key milestones. These extra backups act as a safety net in case any issues arise during the collaboration process.
Common Collaboration Mistakes to Avoid
To keep the workflow smooth, steer clear of these common mistakes:
- Always close your model or relinquish worksets when taking breaks.
- Avoid using detached mode, as it blocks synchronization and can disrupt coordination.
- Open cloud models exclusively through the Autodesk Construction Cloud interface to ensure proper access and updates.
- Make sure all team members are using the same Revit version and Desktop Connector build to prevent syncing problems.
- Communicate any major changes that impact shared elements so everyone is on the same page.
- Check workset ownership before making edits to respect the team’s workflow.
Managing Linked Models and References
Effectively handling linked models and external references is essential to keep projects running smoothly and to avoid errors in cloud worksharing environments. Poor management can lead to slow performance, broken links, and coordination issues. Just as with central models, careful oversight of linked elements is key to maintaining the collaborative efficiency that cloud worksharing offers. Once your project is set up properly, managing linked data becomes a critical step in ensuring seamless teamwork.
Linking Revit Models in Cloud Projects
When working with linked Revit models in cloud-based projects, it’s important to limit the number of active links to maintain optimal performance. Each linked model adds to the system’s workload, which can slow down operations like opening, synchronizing, and saving. To avoid unnecessary strain, load only the models you’re actively working with and unload those that are not currently needed.
Store these linked Revit models in Autodesk Construction Cloud to maintain consistent linking paths. This approach minimizes the risk of broken links or inaccessible files, ensuring smoother collaboration across the team.
Managing CAD Links and External References
For linking non-Revit files, such as AutoCAD drawings, Autodesk Desktop Connector is the recommended tool. To avoid path issues and ensure uninterrupted access, store CAD files and external references within the same cloud environment as your Revit models.
Permissions are another critical factor. The account signed into Revit must have at least “View + Download” permissions for linked cloud-based models and CAD files to load correctly. Make sure all team members have the necessary access to the folders containing these linked files.
Regularly auditing and cleaning up your models before linking external files is also important. Purge unused objects from CAD files and perform cleanup tasks to maintain a streamlined model and avoid performance issues. Clean CAD files not only enhance performance but also reduce the risk of introducing unwanted elements into your Revit model.
Establishing a common coordination system for all linked models and external references is vital. This includes shared coordinates, aligned levels, and grids to prevent misalignment or clashes between different file types. Work closely with your team to ensure everyone is using the same reference points.
Using Worksets for Linked Models
Workset management can further improve performance when dealing with linked content. Organize linked models and CAD files into dedicated worksets, categorized by project phase or discipline, to streamline visibility and reduce system load.
By placing linked models and CAD files into specific worksets, team members can control which external references are active. This reduces the computational load on their local machines and improves overall responsiveness.
Focus on loading only the files you need at any given time. Strategic workset management not only optimizes model performance but also shortens synchronization times, making it easier to work effectively on complex, multi-disciplinary projects.
Model Maintenance and Optimization
To keep your cloud worksharing projects running smoothly, optimizing your model is essential. As projects expand in size and complexity, regular maintenance ensures efficient synchronization and keeps file sizes under control.
Simplifying Families and Managing File Size
Overly complex families with too many parameters or nested components can slow down essential tasks like opening, saving, and syncing with the central model. When designing or selecting families, aim for simplicity instead of unnecessary detail. Over-detailed families can create performance bottlenecks and add little value to project views. For instance, families imported from external tools – such as certain mechanical engineering applications – often include excessive geometry that can drag down performance. Focus on tailoring family details based on the view’s requirements. For example, use minimal detail in plan views to reduce computational strain. This approach helps lighten the model’s workload and enhances overall efficiency.
Routine Model Audits and Cleanup
Performing regular audits is key to maintaining a streamlined model. Periodically remove unused elements like redundant materials, line styles, dimension types, system families, and outdated views from both the main model and linked models. Scheduling cleanup sessions weekly or bi-weekly can prevent unnecessary clutter and ensure smoother synchronization. To avoid disrupting ongoing work, establish clear guidelines to preserve elements essential for current project phases.
Efficient Publishing of Sheets and Views
Streamlining the publishing process is vital for maintaining productivity in cloud worksharing environments. In Revit’s publishing settings, reduce the number of active views and sheets for online access by disabling non-essential ones. Publishing too many sheets at once can slow down workflows and even cause errors. Instead, create targeted publish sets tailored to specific stakeholders or project phases, ensuring only relevant content is processed. Before publishing, double-check that only necessary links are active to speed up the process. To further optimize, schedule publishing during off-peak hours and assign a single team member to oversee it, ensuring consistency and avoiding conflicts. Adjust view settings by switching from resource-heavy styles like “Realistic” or “Transparent” to “Wireframe” or by lowering the level of detail for less critical views. These strategies work hand-in-hand with earlier collaboration techniques to keep large projects on track.
Training and Support Resources
Managing Revit Cloud Worksharing projects effectively requires more than just a basic understanding of the software. Industry-recognized certifications provide a reliable standard, ensuring professionals are equipped to tackle the complexities of cloud-based collaboration.
Why Certified Training Matters
Autodesk certified Revit training sets the standard for mastering the skills needed for cloud worksharing. These certifications not only validate advanced competencies but also measure the expertise required for design and project workflows. For professionals managing complex projects, the Autodesk Certified Professional (ACP) program offers a way to demonstrate their proficiency.
This type of certification creates a strong foundation for diving into more advanced, hands-on learning experiences.
CAD Training Online: Mastering Revit Worksharing
CAD Training Online provides a range of Revit training online programs specifically designed to address the challenges of cloud worksharing. By combining theoretical knowledge with practical application, these courses prepare you for real-world scenarios.
Options include instructor-led sessions and self-paced courses, with prices starting at $525 and full access available for $845. These courses focus on practical strategies, such as managing large linked models, streamlining synchronization workflows, and coordinating with teams across different locations.
Beyond the lessons, the platform offers post-training support to help you apply what you’ve learned. Each course is led by Autodesk-certified instructors and includes an official certificate of completion, ensuring you’re well-prepared to enhance your cloud worksharing expertise.
Conclusion
Getting the most out of Revit Cloud Worksharing starts with properly activating cloud models, setting up clear workset protocols, and fostering a disciplined approach to collaboration.
Consistent synchronization plays a crucial role in keeping projects on track. By syncing at regular intervals, using the Worksharing Monitor effectively, and knowing when to create local backups, teams can avoid the frustrating delays that often come with poor project management. Establishing clear rules for borrowing elements and communicating changes helps reduce conflicts and speeds up project timelines. This structured approach ensures smoother workflows and fewer disruptions.
In addition to syncing, optimizing the model is essential for maintaining performance. Using simplified families, conducting regular audits, and linking models strategically can help manage file sizes and keep everything running smoothly – especially as projects grow larger and involve more team members.
Technical know-how combined with proper training strengthens best practices and helps teams sidestep common mistakes. Understanding not just how to perform tasks but also why they matter equips teams to work more effectively and adapt to challenges with ease.
When teams pair technical precision with ongoing training and thoughtful optimization, Revit Cloud Worksharing becomes a game changer. But its success depends on careful implementation. Teams that dedicate time to setting up systems correctly, stick to disciplined workflows, and prioritize consistent learning deliver projects more efficiently, all while reducing the headaches and confusion that often come with large-scale collaboration.
FAQs
How do I make sure everyone on my team is using the correct version of Revit for a cloud worksharing project?
To make sure your team is on the right Revit version for a cloud worksharing project, have everyone open models directly from the Autodesk Construction Cloud (ACC) Home screen. The key here is consistency – everyone must use the same Revit version and Desktop Connector build. Why? Because the version of the first model uploaded to ACC sets the project version for everyone.
Before diving in, check in with your team to confirm their software versions. If updates are needed, take care of them upfront. This simple step can prevent compatibility headaches and keeps collaboration running smoothly.
How can I improve model performance and reduce sync delays in Revit Cloud Worksharing?
To get the best performance and reduce syncing delays with Revit Cloud Worksharing, it’s crucial to store all your files in BIM 360 instead of local drives or servers. This setup allows for quicker and more dependable synchronization.
Streamlining your models is another key step. Remove unused elements, turn off worksets that aren’t needed, and make sure everyone on the team is using the same Revit version. Keeping things consistent across the board helps avoid potential hiccups.
On top of that, simplifying complex models and ensuring clear communication about cloud workflows within the team can make a big difference. These strategies not only cut down on delays but also make collaboration on large projects much smoother.
What are the best practices for managing linked models and external references in a cloud-based Revit project?
To keep linked models and external references running smoothly in a cloud-based Revit project, make sure to link Revit models as Cloud Models using Revit’s Cloud Worksharing tools. Steer clear of linking files from local drives or other disconnected sources – this often causes visibility and coordination headaches.
Set up a clear folder structure and stick to consistent naming conventions for linked files. This makes collaboration easier for everyone. Use the Manage Links tool to keep track of and update external references when needed. Always open models from the Autodesk Projects home screen to ensure you’re working with the most up-to-date version and maintaining version control. It’s also critical that all team members use the same Revit version and compatible tools to avoid any compatibility issues.
By following these steps, your team can work more efficiently, minimize errors, and stay well-coordinated.